
DIY Bathroom Renovation: Tools, Timeline & When to Call a Pro
Taking on a DIY bathroom renovation? Whether you’re looking to save money, enjoy the satisfaction of hands-on work, or personalize every detail, tackling a bathroom remodel yourself can be a rewarding experience. But it also takes planning, patience, and a solid understanding of what you’re getting into.
This guide breaks down everything you need—from tools to timelines—to help you renovate smart, avoid common pitfalls, and know when it’s okay to ask for help.
Should You DIY Your Bathroom Renovation?
Bathrooms might be small, but they pack a punch when it comes to plumbing, electrical, ventilation, and finishes. Doing it yourself can save you thousands, but it’s not always the right choice for every homeowner or every scope of work.
Ask yourself: Do I have the time, tools, and skillset to manage demolition, tiling, fixture installation, and waterproofing? If yes, you’re ready to get started. If not, there’s no shame in calling in a pro for part of the process.
Must-Have Tools for a DIY Bathroom Reno
- Measuring tape & level
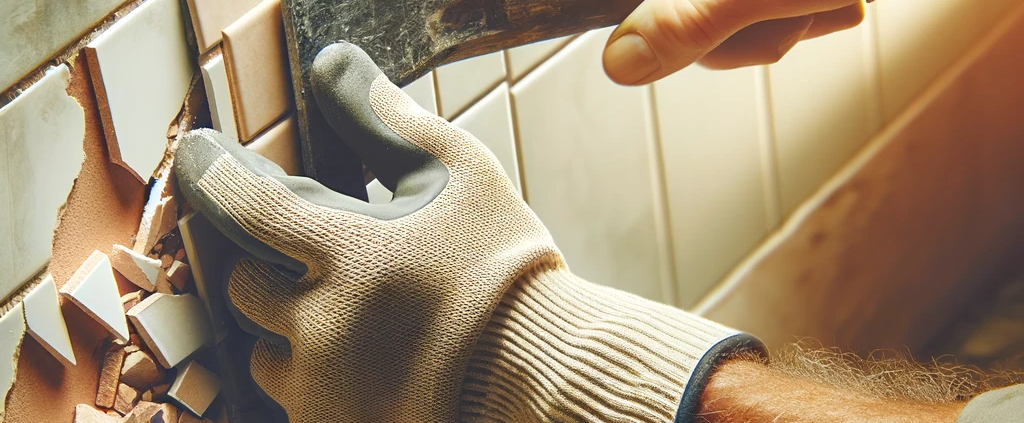
- Utility knife & pry bar for demo
- Circular saw or oscillating tool
- Power drill and bits
- Tile cutter or wet saw
- Pipe wrench & pliers
- Trowel and grout float
- Safety gear: gloves, goggles, mask
This is a general starter list—your project might need more specialized gear depending on how deep you’re going. Renting larger tools is always an option for keeping costs down.
DIY Bathroom Renovation Timeline (Rough Guide)
One of the biggest questions DIYers have is: how long is this going to take? While timelines can vary, here’s a rough breakdown for a standard 5×8 bathroom remodel done part-time:
- Week 1: Planning, demolition, and removing fixtures
- Week 2: Plumbing and electrical rough-ins
- Week 3: Wall repair, waterproofing, and tile prep
- Week 4: Tiling floors/walls, paint, ventilation updates
- Week 5: Fixture installation, cleanup, finishing touches
If you’re doing this on evenings and weekends, give yourself 6–8 weeks instead. Planning ahead and ordering materials early can help avoid delays.
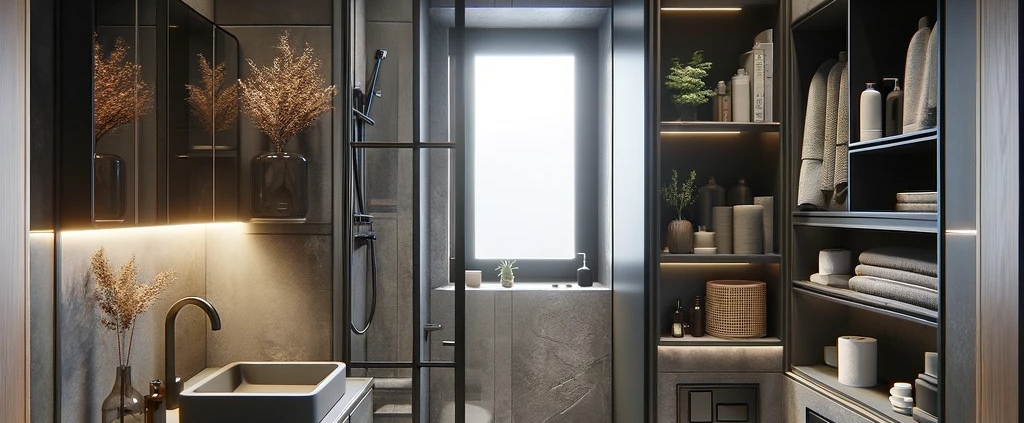
DIY Bathroom Renovation Ideas That Work
You don’t need to gut the whole bathroom to make a big impact. Consider these projects for a budget-friendly transformation:
- Replace faucets or showerheads with modern, water-saving options
- Install peel-and-stick backsplash tiles or waterproof wall panels
- Swap out an old vanity for a floating one to create visual space
- Upgrade lighting to LED fixtures with warmer tones
- Refinish your bathtub instead of replacing it
Need more inspiration? Check out our bathroom renovation ideas page to see what’s trending and doable on your own.
When to Call a Handyman or Contractor
Some parts of a bathroom reno are best left to licensed pros—especially anything involving major plumbing, electrical, or structural changes. If you’re unsure, bring in a qualified handyman or renovation team for those phases and handle the rest yourself.
This hybrid DIY/pro approach saves money while reducing risk—and gives you peace of mind that the “invisible” work behind the walls meets code and lasts for years to come.
Budget Tips & Cost Expectations
While DIYing can save you on labor costs, materials still add up. To help plan your budget, take a look at our breakdown of bathroom renovation costs, including how much to budget for tools, tiles, fixtures, and hidden surprises.
Remember to build in a 10–15% buffer for the unexpected—and consider resale value if this isn’t your forever home.
Final Thoughts
DIY bathroom renovation can be extremely satisfying when done right. With a solid plan, the right tools, and a clear sense of when to tag in help, you can refresh your space on your terms and timeline. Just take your time, stay safe, and enjoy the process.
Next Steps
Still figuring things out? Explore small bathroom ideas, learn about typical reno costs, or browse creative upgrades to inspire your next move.

